Crescent Kick (Outside to Inside)
 |

|
 |
 |
 |
 |
 |
General notes:
I find that this is less of a kick and more of a guard-break, since it is the perfect movement to follow up with another kick (either from the same leg or the supporting). A good example of how this can be achieved with a different leg can be found in the advanced training area of this site. An example of a combination using the same leg off of the crescent kick would be to immediately follow it up with a side kick. Personally, I have found the later combination very effective against opponents in competition that like to keep their distance and keep their guard up. The crescent kick takes the guard away and a hopping side kick to the chest often scores very well.
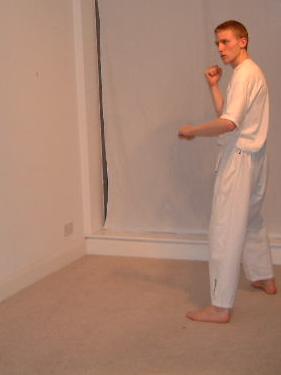 |
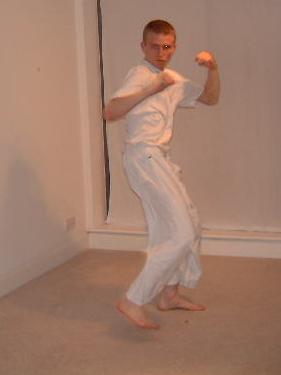
1) Stand in the ready stance. |
 |
2) Begin transferring the weight on to the leading foot while lifting the rear foot. The leg should be bent very slightly while lifting for ease and speed of execution. Remember to keep the non-kicking foot facing towards the opponent and the knee slightly bent to avoid injury to the groin. Keep the kicking foot and the hip in line while spinning. Stay upright with the arms close to the face at all times. |
 |
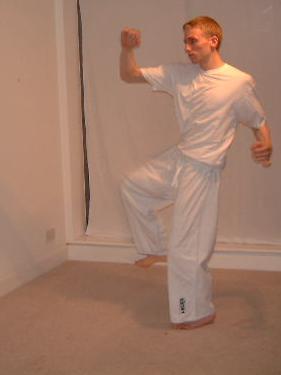
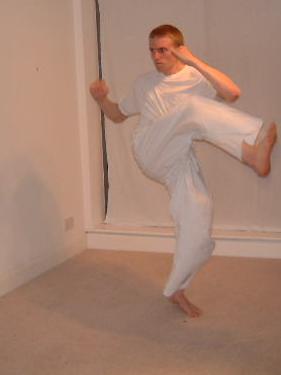
3) Continue spinning the leg round towards its target while straightening the leg more in order to get the full weight of the leg behind the kick. Keep on the ball of the supporting foot to allow the foot to pivot round with the kick to prevent injury to the leg. |
 |
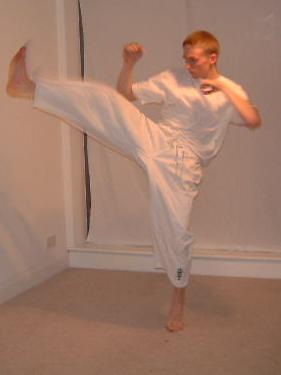
4) This is the point of contact. At this point, the leg has been almost completely straightened and is at its peak for power. Contact is made with the sole of the foot. Be careful not to have the ankle too relaxed at this point though. The joint can be jarred very easily if proper care is not taken to tense the muscles surrounding the foot to avoid this. |
 |
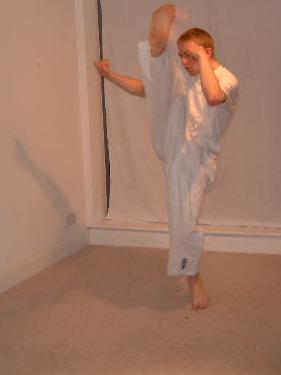
5) The kick is continued round 'through' the target so that it is coming back down to the supporting foot, but make sure that while doing this the supporting foot is turning away from the opponent in order to accommodate the change in position of legs. If you look at the side kick in this site you will notice that this is the 'chamber position' for the side kick. It is here that further combinations can occur. |
 |
6) To complete this kick without going into further combinations, push the leg back in to a stance position. |
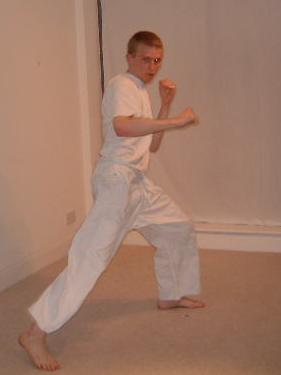 |
7) The kicking leg has now become the lead foot. |
 |
| Click here to see the kick in action ! |